LIVE ONLINE COURSE
LIVE ONLINE COURSE
LIVE ONLINE COURSE
LIVE ONLINE COURSE
LIVE ONLINE COURSE
LIVE ONLINE COURSE
LIVE ONLINE COURSE
LIVE ONLINE COURSE
LIVE ONLINE COURSE
LIVE ONLINE COURSE
LIVE ONLINE COURSE
LIVE ONLINE COURSE
LIVE ONLINE COURSE
LIVE ONLINE COURSE
LIVE ONLINE COURSE
LIVE ONLINE COURSE
LIVE ONLINE COURSE
LIVE ONLINE COURSE
LIVE ONLINE COURSE
JEWELLERY CAD DESIGNER
Dates:
8 OCT 2026 - 1 DEC 2026
Duration:
9 WEEKS
TUESDAYS & THURSDAYS
5 PM BST
TUESDAYS & THURSDAYS
5 PM BST
LIVE ONLINE COURSE
LIVE ONLINE COURSE
LIVE ONLINE COURSE
LIVE ONLINE COURSE
LIVE ONLINE COURSE
LIVE ONLINE COURSE
LIVE ONLINE COURSE
LIVE ONLINE COURSE
LIVE ONLINE COURSE
LIVE ONLINE COURSE
LIVE ONLINE COURSE
LIVE ONLINE COURSE
LIVE ONLINE COURSE
LIVE ONLINE COURSE
LIVE ONLINE COURSE
LIVE ONLINE COURSE
LIVE ONLINE COURSE
LIVE ONLINE COURSE
LIVE ONLINE COURSE
LIVE ONLINE COURSE
INSTRUCTOR
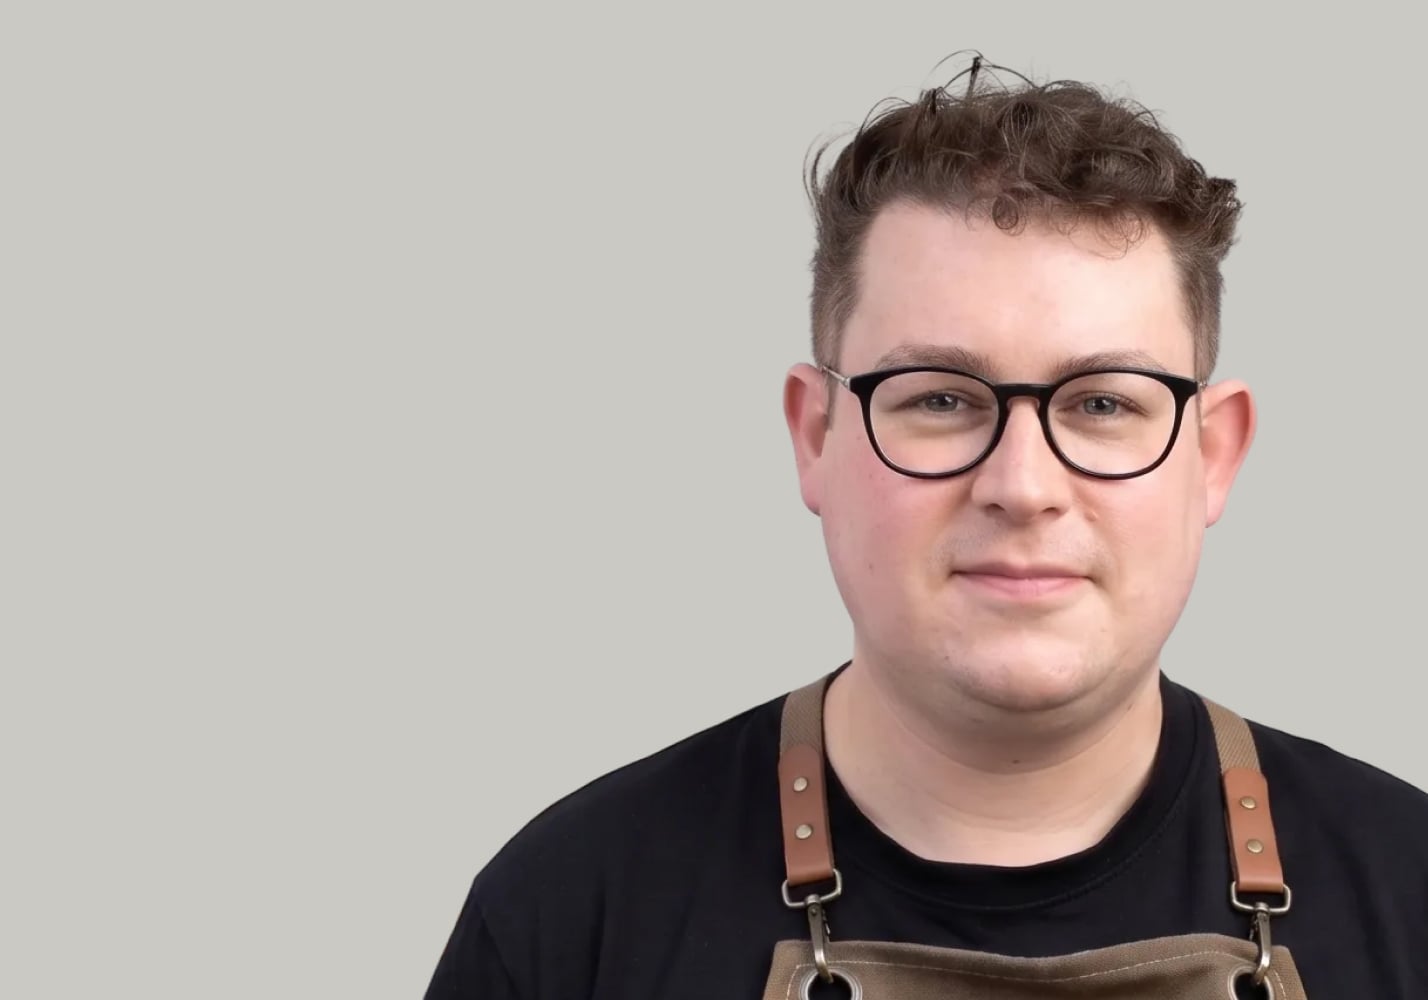
GABRIELE GUCCI
LinkedIn Profile
- Designs bespoke fine jewellery from concept to creation, bringing nearly a decade of experience across custom commissions, luxury manufacturing, and production-ready CAD development.
- Bridges traditional goldsmithing craftsmanship with cutting-edge CAD technology, drawing on a background in Jewellery & Silversmithing and Design for Industry from the School of Jewellery in Birmingham.
- Lead projects from initial brief through final manufacture, creating everything from timeless everyday pieces to complex statement designs for leading jewellery manufacturers including Weston Beamor and Jewelcast.
- Supports and mentors emerging jewellery talent, serving as a multi-year awards judge at the School of Jewellery and helping shape the next generation of designers.
- Earned industry recognition for design excellence, including a Silver Award from the Goldsmiths' Craft & Design Council, Professional Jeweller Rising Star (2022), and Retail Jeweller 30 Under 30 (2023).

What our students say

Victoria Mansell
MARKETING DIRECTOR
"It was such a great experience, well worth the course fee which I invested personally - I've learnt so much and feel much more confident in my role.."

Parag Deb
BECOME AN AR/VR DESIGNER
"The course at ELVTR was a great investment in my career. The materials are top-notch, and the instructors provided excellent support."
"The course at ELVTR was a great investment in my career. The materials are top-notch, and the instructors provided excellent support."

Kiara De Leon Hernandez
UI/UX FOR GAMING
"The knowledge. The teacher is very experienced. He is able to answer our questions in depth, and takes the time to do so."
"The knowledge. The teacher is very experienced. He is able to answer our questions in depth, and takes the time to do so."

Youssef MN Aly
BECOME AN AR/VR DESIGNER
"The course was very helpful in helping me expand my design toolkits by gaining a wealth of new knowledge and inside expertise to stay at the forefront in an age of rapidly developing technological and software advancements."
"The course was very helpful in helping me expand my design toolkits by gaining a wealth of new knowledge and inside expertise to stay at the forefront in an age of rapidly developing technological and software advancements."